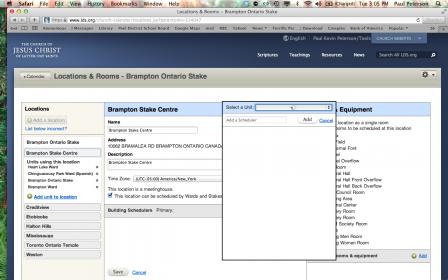
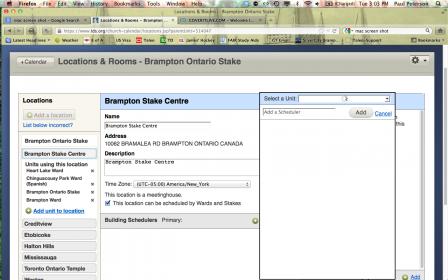
Here is a more detailed explanation for trevorclifton's work around. Note that I followed these steps to add my own scheduler. However, these steps may not work for you. This requires a little web plumbing knowlege. Try at your own risk!
Wherever I give data to be typed in, do not type the single quotes. They are simply used to designate the actual text to type in.
1. Using Firefox, install the "Poster" and "Tamper Data" Firefox extensions, if you don't already have them (they require a browser restart).
2. Once they are installed and ready, go to LDS.org and sign in (in Firefox).
3. Navigate to (in page menu) Tools->Directory
4. Navigate to the person that you want to add as a building scheduler, but do not click on their name in the list. We need to capture the data from that request with Tamper Data.
5. Select (Firefox menu) Tools->Tamper Data. The window that pops up will be recording our requests so don't close it.
6. Select the main Firefox window with your stake/ward directory listing the person you want to add as a building scheduler.
7. Click on the name in the directory listing so that their detail data displays on the right.
8. Go to the Tamper Data window, scroll to the bottom of the Tamper Data capture list and double click on the last entry with Content Type "application/json".
9. The window that opens will have a long text string with a / followed by a number at the end of it. You need that number to add your scheduler later, so copy it somewhere else or write it down.
10. In the main LDS.org tab navigate to the calendar - (in page menu) Tools->Calendar.
11. Navigate from there to the Locations and Rooms administration page (you must be an administrator) - (in page gear menu) Gear Menu->Locations & Rooms.
12. Select the building you want to add the scheduler for.
13. Click Edit (for the location).
14. Click "Save" without making any changes. We need to capture this data in order to submit our location with the new scheduler added in a moment.
15. Go to the Tamper Data window, scroll to the bottom of the Tamper Data capture list, and click on the last entry with Content Type "application/json".
16. In the Request Header/Request Header Value area of the Tamper Data window (bottom left hand area), scroll to the bottom and right click on POSTDATA and select "Copy".
17. Now we need to begin constructing our manual request to create our Scheduler. To do this we click back on our main Firefox window and select (Firefox menu) Tools->Poster.
18. Toward the bottom area of Poster window click in the Content text area and paste your copy from Tamper Data. This should dump a bunch of text in the area starting with POSTDATA={"locationId":...
19. From your newly pasted data, remove the "POSTDATA=", leaving the rest untouched. So what we have left in the text area should now start with {"locationId":...
20. Now you need to look through the pasted data until you find "buildingAdmins":[{"individualId":...
21. When you have found that, go to the end of the list of individuals, each of which has an individualId and name with the associated data enclosed in curly brackets {}. At the end of the list of individuals there will be a last individual closing curly bracket and a square closing bracket that closes the group. Place your cursor directly in between the closing curly bracket and closing square bracket. Then copy and past the following text and paste it into that place at the end of the individuals list between the closing curly and square brackets. ',{"individualId":ID_HERE,"name":"NAME_HERE"}' (without copying the single quotes, but make sure and copy the comma at the beginning)
22. Replace ID_HERE in the just copied text with the number you set aside earlier when we looked up our person.
23. Replace NAME_HERE in the just copied text with the name of the individual you are adding as a building scheduler.
24. Now our request data is ready, but our headers are not. Click in the "Content Type" text area just above and paste the following text 'application/json; charset=utf-8'. (without the single quotes)
25. Now click on the "Headers" tab in the Poster window.
26. Enter 'Host' in the Name field and '
www.lds.org' in the Value field and click Add/Change. (without the single quotes)
27. Enter 'Accept' in the Name field and 'application/json, text/javascript, */*; q=0.01' in the Value field. Click Add/Change. (maybe you now know not to copy the single quotes, I'll stop mentioning it)
28. Enter 'Accept-Language' in the Name field and 'en-US,en;q=0.5' in the Value field. Click Add/Change.
29. Enter 'X-Requested-With' in the Name field and 'XMLHttpRequest' in the Value field. Click Add/Change.
30. Enter 'Pragma' in the Name field and 'no-cache' in the Value field. Click Add/Change.
31. Enter 'Cache-Control' in the Name field and 'no-cache' in the Value field. Click Add/Change.
32. Now go back to the Tamper Data window. We need 3 pieces of data from here, that we will have to get one at a time. First we right click on "User-Agent" and select "Copy".
33. Go back to the Poster window. Type 'User-Agent" in the Name field and paste the copied data into the Value field. Remove 'User-Agent=' from the beginning of the newly pasted value and then click "Add/Change".
34. Go back to the Tamper Data window. Right click on "Referer" and select "Copy".
35. Go back to the Poster window. Type 'Referer" in the Name field and paste the copied data into the Value field. Remove 'Referer=' from the beginning of the newly pasted value and then click "Add/Change".
36. Go back to the Tamper Data window. Right click on "Cookie" and select "Copy".
37. Go back to the Poster window. Type 'Cookie" in the Name field and paste the copied data into the Value field. Remove 'Cookie=' from the beginning of the newly pasted value and then click "Add/Change".
38. Click on the big "POST" button.
39. A window should pop up with Status: 200 OK and ["Success"] in the text area. If it does, your scheduler has been added. If it doesn't, you received an error, most likely because your session expired and you need to Sign out and login again. In your request, you only need to replace the Cookie header item (repeat steps 36, 37, and 38) to update your request. You do not have to start over.
Hope that helps others.


 ).